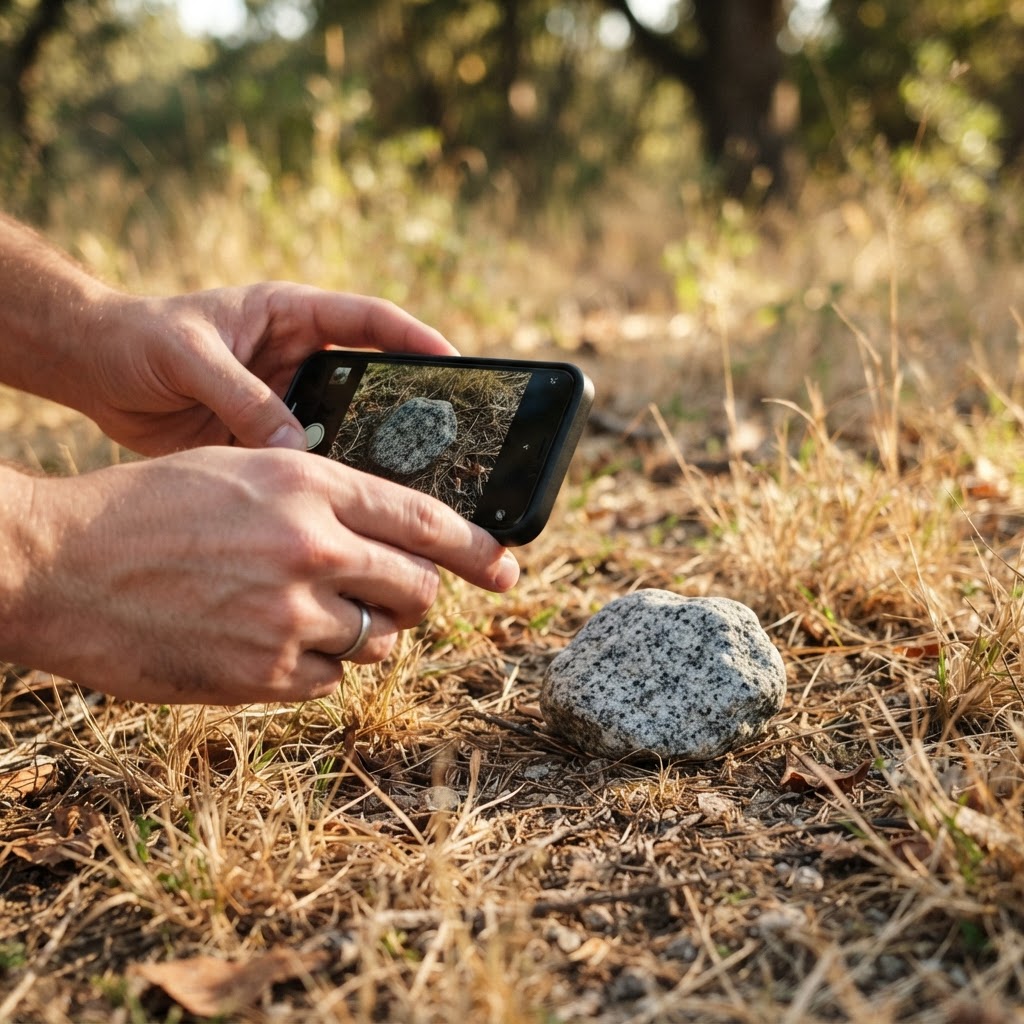
Why a Photo Works at All
A photograph of a rock carries more information than most people realise. Texture, grain size, colour variation, the presence of visible crystals, layering, and the shape of the specimen are all readable from an image, and together they are enough to classify most rocks into a family.
What a photo cannot carry is anything you have to do to the rock: scratch it, smell it, weigh it, or drop acid on it. So the method is always the same shape. Use the photo to get a shortlist, then use one or two physical tests to confirm.
The Five Photos to Take Before You Ask Anyone
One photo is rarely enough. Five takes a minute and multiplies your chances of a correct identification.
- The whole specimen, filling most of the frame, in daylight.
- A close-up of the surface texture, with the camera about 10 centimetres away.
- A shot with a coin beside the rock for scale.
- A fresh broken or cut face, if you have one. This is the single most valuable photo.
- The underside or a different angle, in case the top surface is weathered.
Lighting Is Most of the Answer
Photograph outdoors on an overcast day, or in open shade. That gives you soft, even, directionless light that reveals texture without creating glare. Direct sun and flash both do the opposite — they blow out the surface and make a coarse-grained rock look like a smooth one.
If you are indoors, take the rock to a window and photograph it in the light coming through, not with the light behind you. If you must use flash, move the rock off-axis so the reflection does not land in the middle of the frame.
What a Photo Can Never Show You
Hardness, streak, specific gravity and acid reaction are all invisible to a camera. That is not a limitation of any particular app — it is a limit of photography.
This matters most with lookalikes. Sandstone and quartzite can photograph almost identically, but sandstone scratches with a knife and quartzite does not. Limestone and marble look similar in a picture, and a single drop of acid separates them in seconds.
A Worked Example: Three Photos, One Answer
Say you found a grey rock in a creek bed. Photo one shows a speckled surface with visible pink and white crystals. Photo two, the close-up, shows those crystals are distinct and interlocking rather than cemented grains. Photo three, a broken face, shows the same coarse crystalline texture all the way through.
That combination — coarse, interlocking, speckled with feldspar and quartz — points firmly to granite. The scratch test confirms it: the rock is harder than a steel blade, so it is over 5.5. A drop of vinegar does nothing, ruling out limestone.
Now change one detail. Suppose the close-up had shown rounded grains cemented together instead of interlocking crystals. The same overall grey colour would now point to sandstone, and the knife test would scratch it. One photo changed the answer entirely.
Common Photo Mistakes That Guarantee a Wrong Answer
These are the mistakes that cause most misidentifications.
- Photographing a wet rock. Water darkens colour and fills the surface texture, making everything look smoother and darker than it is.
- Photographing in shadow. A rock in shade loses all its colour information and reads as grey.
- Filling the frame with a single grain. Zoomed in far enough, every rock looks like a crystal.
- Using a busy background. Gravel or grass behind the specimen confuses texture analysis.
- Skipping the scale reference. A 2-centimetre pebble and a 20-centimetre boulder can look identical without one.
Confirming the Result with Two Cheap Tests
Once you have a shortlist, two tests will usually settle it. First, scratch: a fingernail, a copper coin, a steel blade and a quartz point give you four hardness checkpoints. Second, acid: a drop of vinegar on a suspected carbonate produces a faint fizz, and a stronger dilute acid fizzes hard.
Those two tests cost nothing, take two minutes, and eliminate the errors that photos cannot catch. For a full breakdown of the minerals involved, mineral identifier goes through the diagnostic properties one at a time.
The Bottom Line
Rock identification by photo works well when you give the photo something to work with. Shoot in daylight, shoot dry, include scale, and include a broken face. Expect a shortlist rather than a verdict, then confirm it with a scratch test and an acid drop.
For everyday stones this method will identify the large majority of what you pick up. For the free-tool angle, see free rock identification app.
Frequently Asked Questions
You can usually get to a family — igneous, sedimentary or metamorphic — and often to a specific rock type. Confirming it needs a hardness test or an acid test, because those properties cannot be photographed.